Huh. So it’s been an interesting few months.
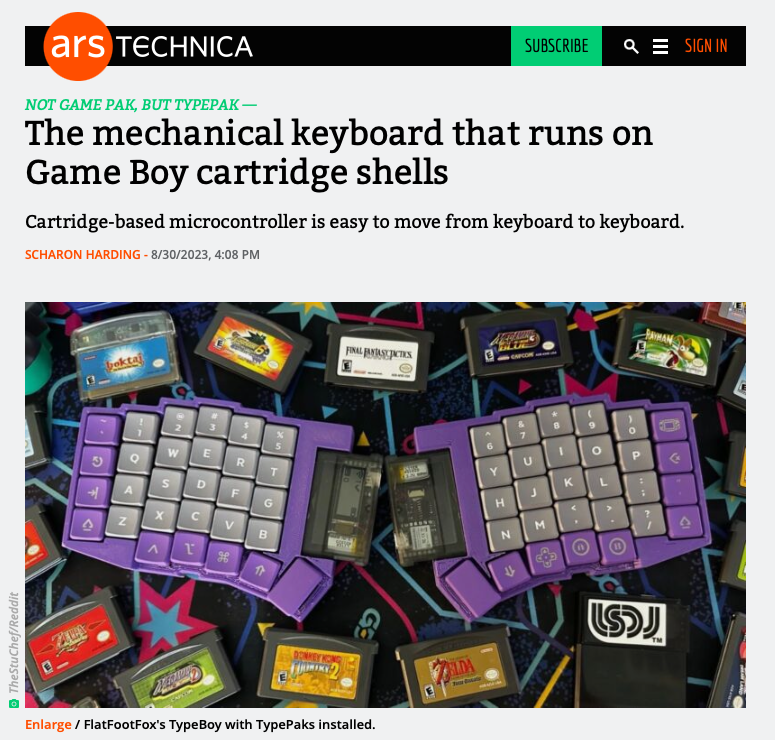
Last Fall I published my writeup on the TypeBoy Keyboard & The TypePak Cartridge. It’s a split ergonomic keyboard with a twist: The keyboard’s microcontroller and battery are housed on a daughterboard built into a Game Boy Advance cartridge. It was a fun nostalgic indulgence, and I was happy to see it featured on the always delightful Keyboard Builder’s Digest. The next thing I knew, it was popping up on The Verge’s storystream and Ars Technica was reaching out for a comment. I’m still floored with all of the positive coverage and feedback.
Getting featured in two of my favorite tech blogs probably would have been the highlight of my 2023 had I not been getting married a few weeks later. Needless to say I’ve been a little busy.
But I’m back with a new keyboard design! It’s... very similar to my previous keyboard design. That’s right folks, I’ve achieved one of the elusive milestones of hobbyist electronics: I created a cost saving reusable design and actually reused it in a followup project.
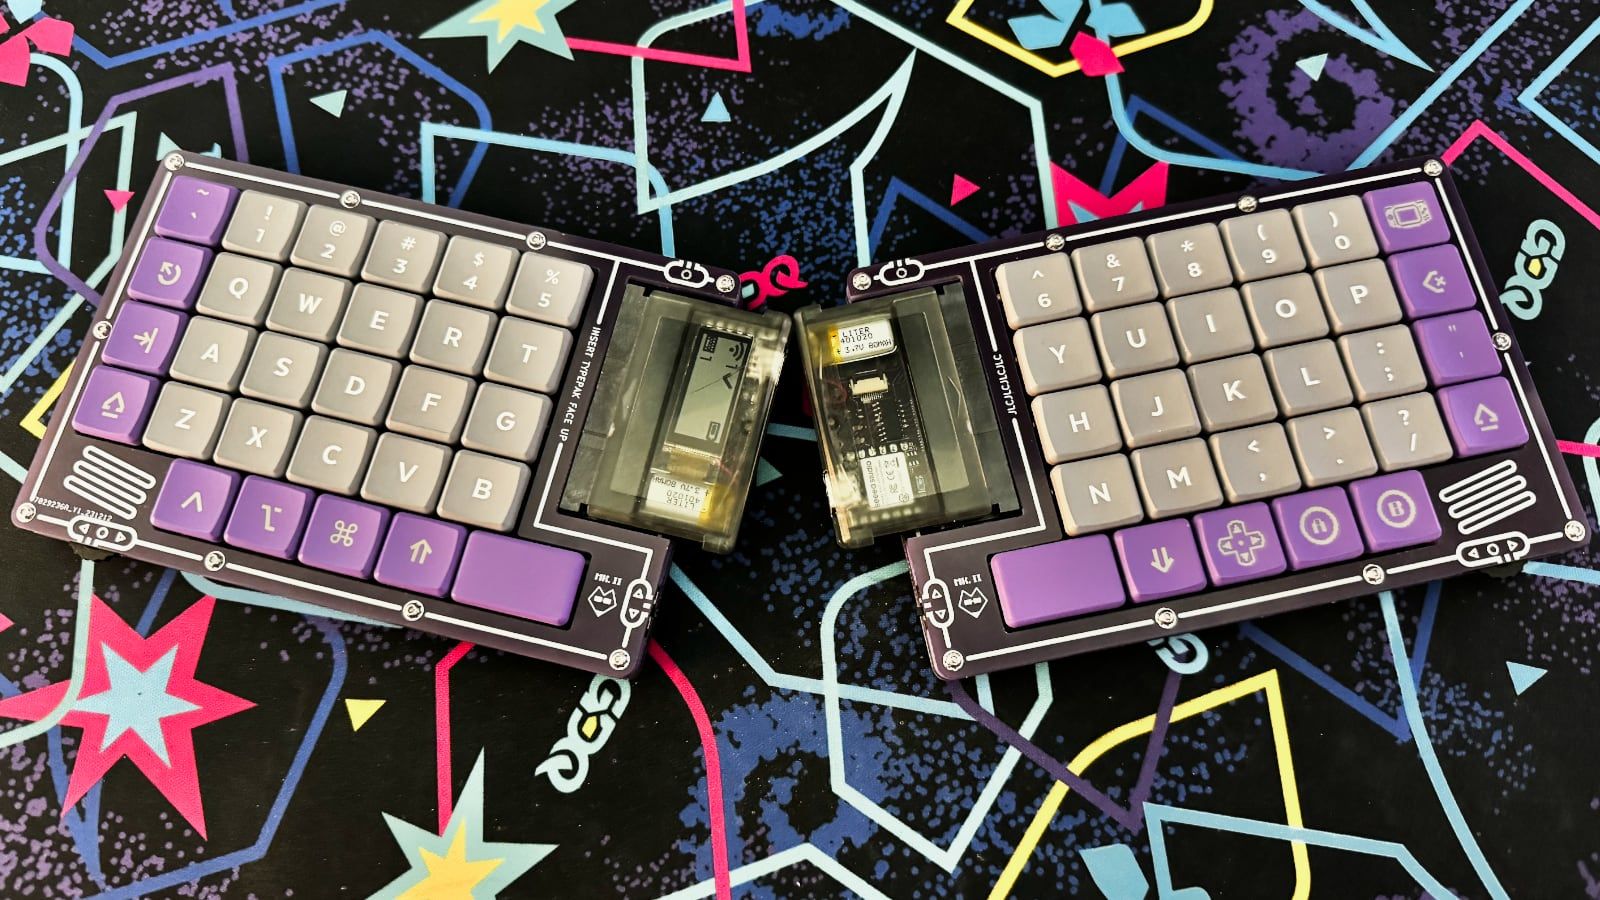
Introducing the Mark II
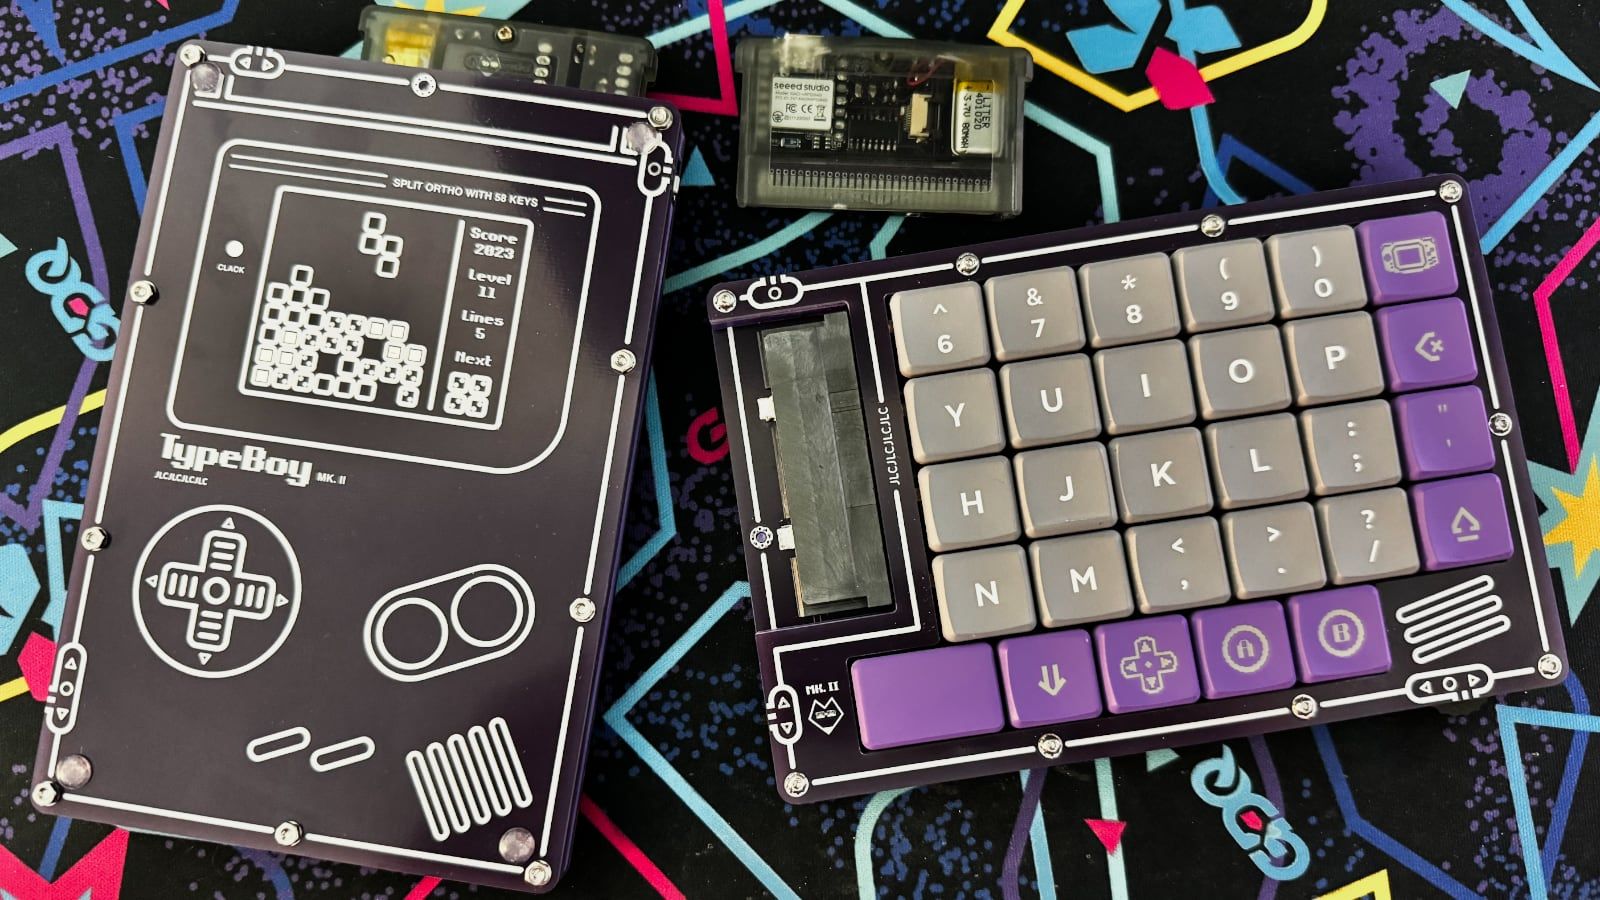
The TypeBoy MkII is another TypePak-compatible 58-key split ergonomic keyboard. If you didn’t get a chance to read my initial writeup, the TypePak is a small cartridge containing all of the electronics needed to drive a mechanical keyboard. It houses a Bluetooth XIAO microcontroller, a LiPo battery, a shift register, and a Sharp Memory Display. (If you manage not to accidentally crack it while assembling things.) The TypePak allows you to quickly move a microcontroller between keyboards, but a large part of its appeal is just the aesthetics. The TypePak cartridge slot takes up a bit more space than a typical Pro Micro header stack, but it’s certainly a head turner.
While I was overall incredibly happy with how the initial TypeBoy design turned out, there were a few small issues that needed addressing. The largest impetus for making a new keyboard was a mistake in the routing of the original TypeBoy's power switch. The oversight left the right half permanently stuck in the "on" position. It worked fine in day to day usage, but I logged in on one too many Mondays to discover my keyboard’s battery had died over the weekend.
Rather than doing a straight revision on the initial design, the Mark II experiments in a few areas. The largest deviation from the original TypeBoy is the case design. The original TypeBoy used a 3D printed case loosely inspired by the GEIST Totem. It was fine, but my aging printer gave me a surprising amount of trouble for that build. A bit more tinkering probably would have solved the rough spots I was having with it, but I decided to try a different approach.
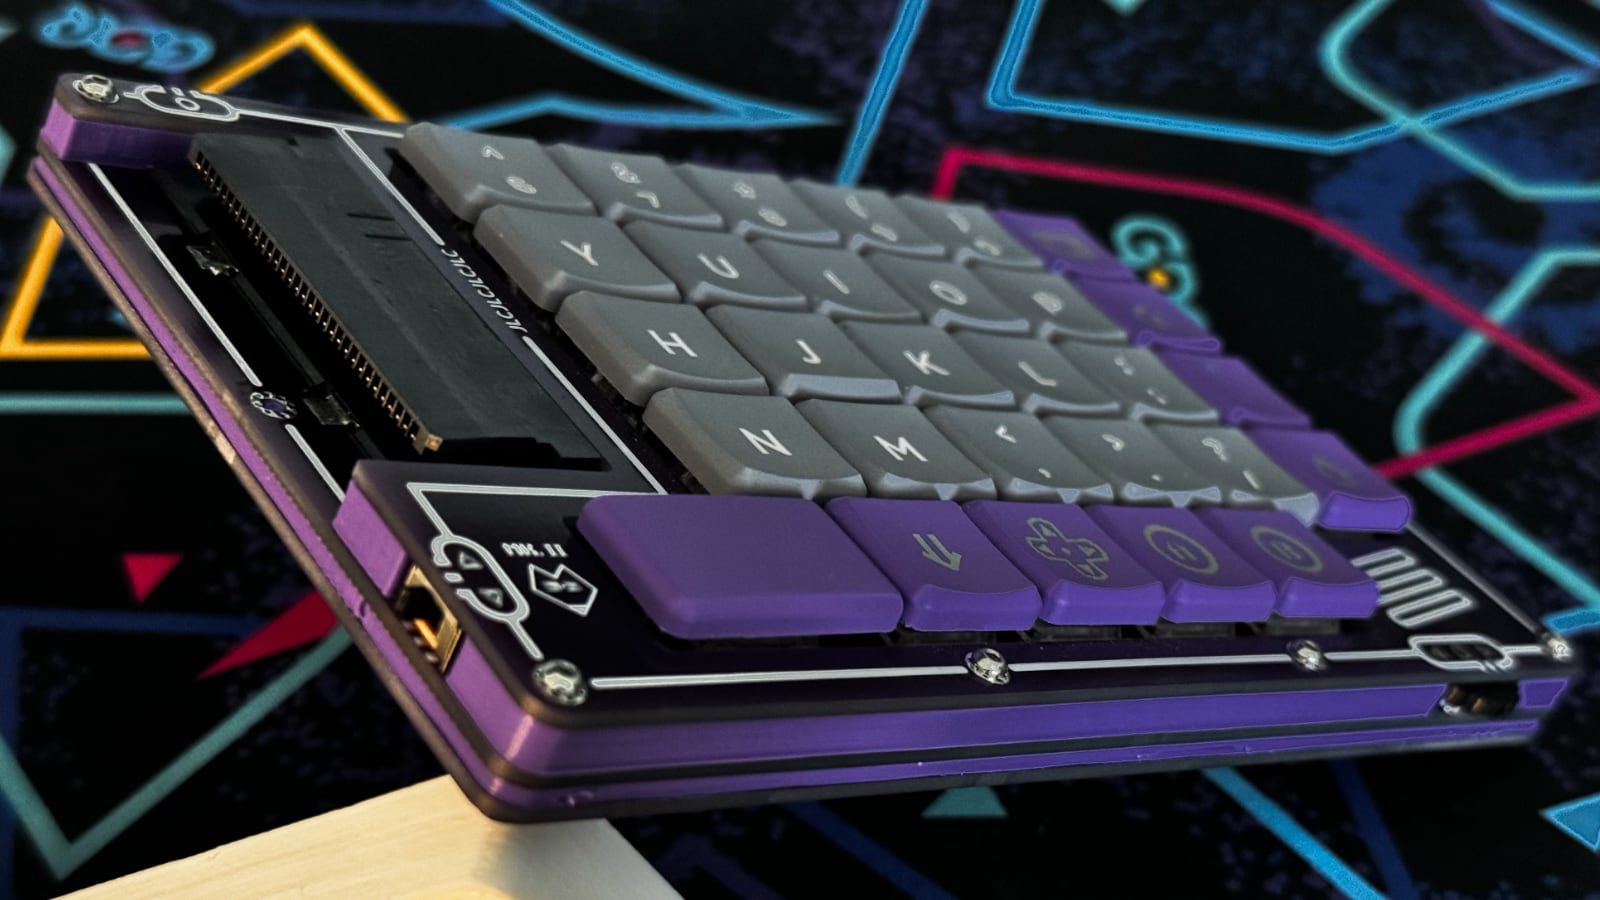
The TypeBoy MkII instead uses a take on the “PCB Sandwich” design. The keyboard’s switches, cartridge connector, and other hardware are all attached to the main PCB. If you’d like to make this keyboard, you technically only need to fabricate the main PCB. Underneath the main board however are 2mm worth of hotswap sockets and exposed key switch pins. It’s not strictly necessary to cover these up, but most people like having a flat protective bottom for their keyboard.
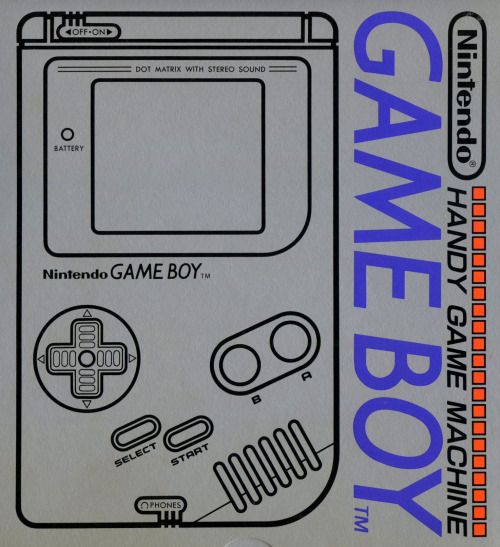
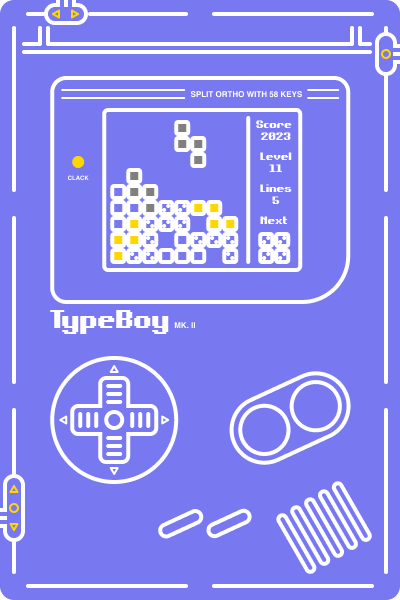
To protect the underside of the Mark II, I skipped my usual 3D printed route and instead had a pair of inert PCBs made to completely cover the bottom. They feature silkscreen line art inspired by the Game Boy and Game Boy Advance. They’re a little minimalist as far as PCB art goes, but it was something I didn’t have too much trouble whipping together in Figma in an afternoon. To keep the nostalgia trend going, they’re loosely based on the line art design of the original Japanese Game Boy box.
I could have stopped there, but this is a sandwich, right? I wanted to include a top piece as well. The TypeBoy Mark II is still using the bright red Choc Red Pro switches from my old ChonkV build, and I wanted something purple to cover them up.
Many traditional keyboard builds will use what’s known as a “Switch Plate”. This is a layer of the case which as a square cutout for every key that the switch is designed to snap into. It provides a lot of extra stability to keyboard builds using MX switches, but it’s less necessary for Choc switch keyboards. They rest fairly sturdily in their hotswap sockets already, and the switch plate only sits 0.5mm above the main PCB.
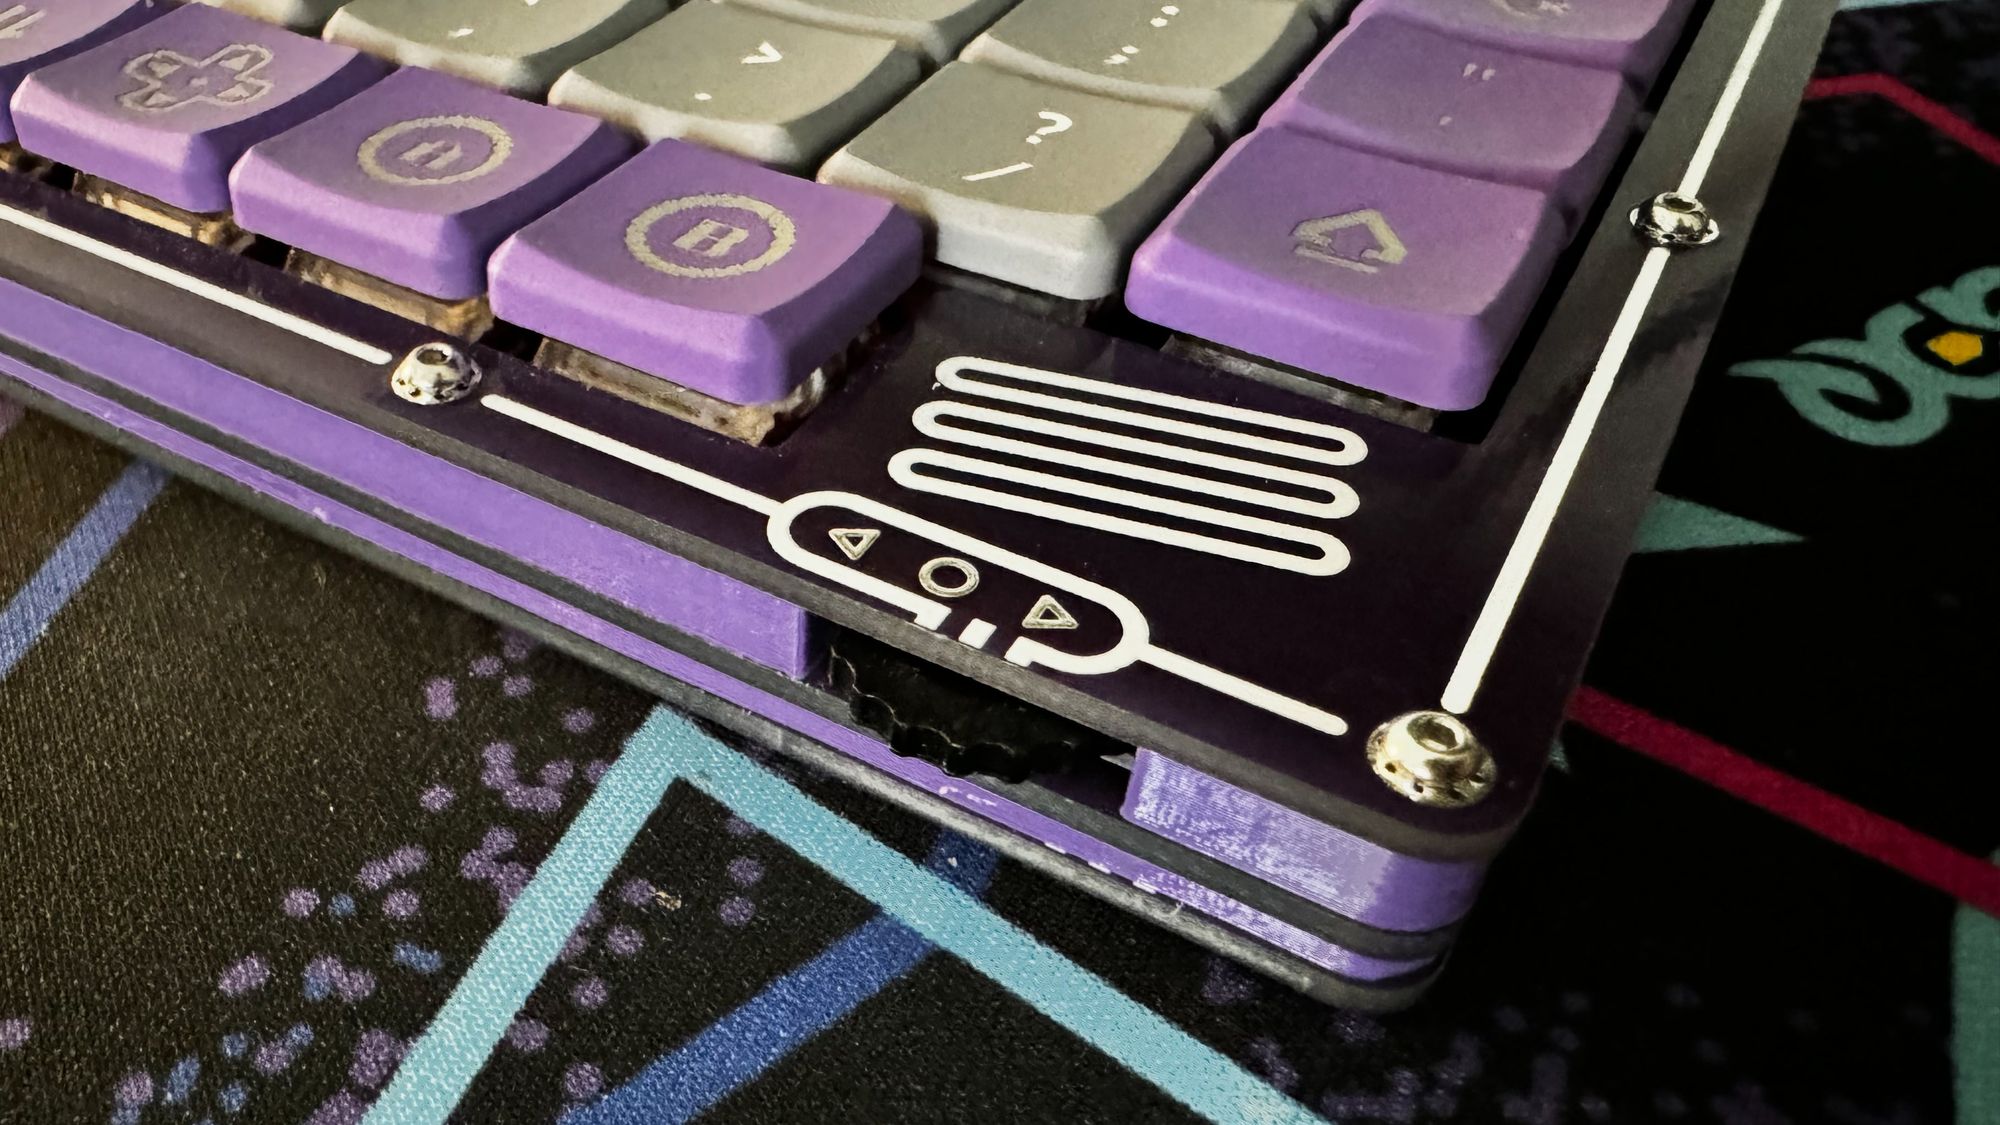
The TypeBoy Mk II eschews a full switch plate and instead just has a small PCB running around the border of the keys. This not only obscures the bright red housing of the switches, but it also covers the right angle power switch, reset button, and rotary encoder. It rests a full 4.5mm above the main PCB.

All three parts of this PCB sandwich are held together by a 12mm long M2 screw and matching nut. A set of spacers go between each layer to provide a bit more rigidity to the build.

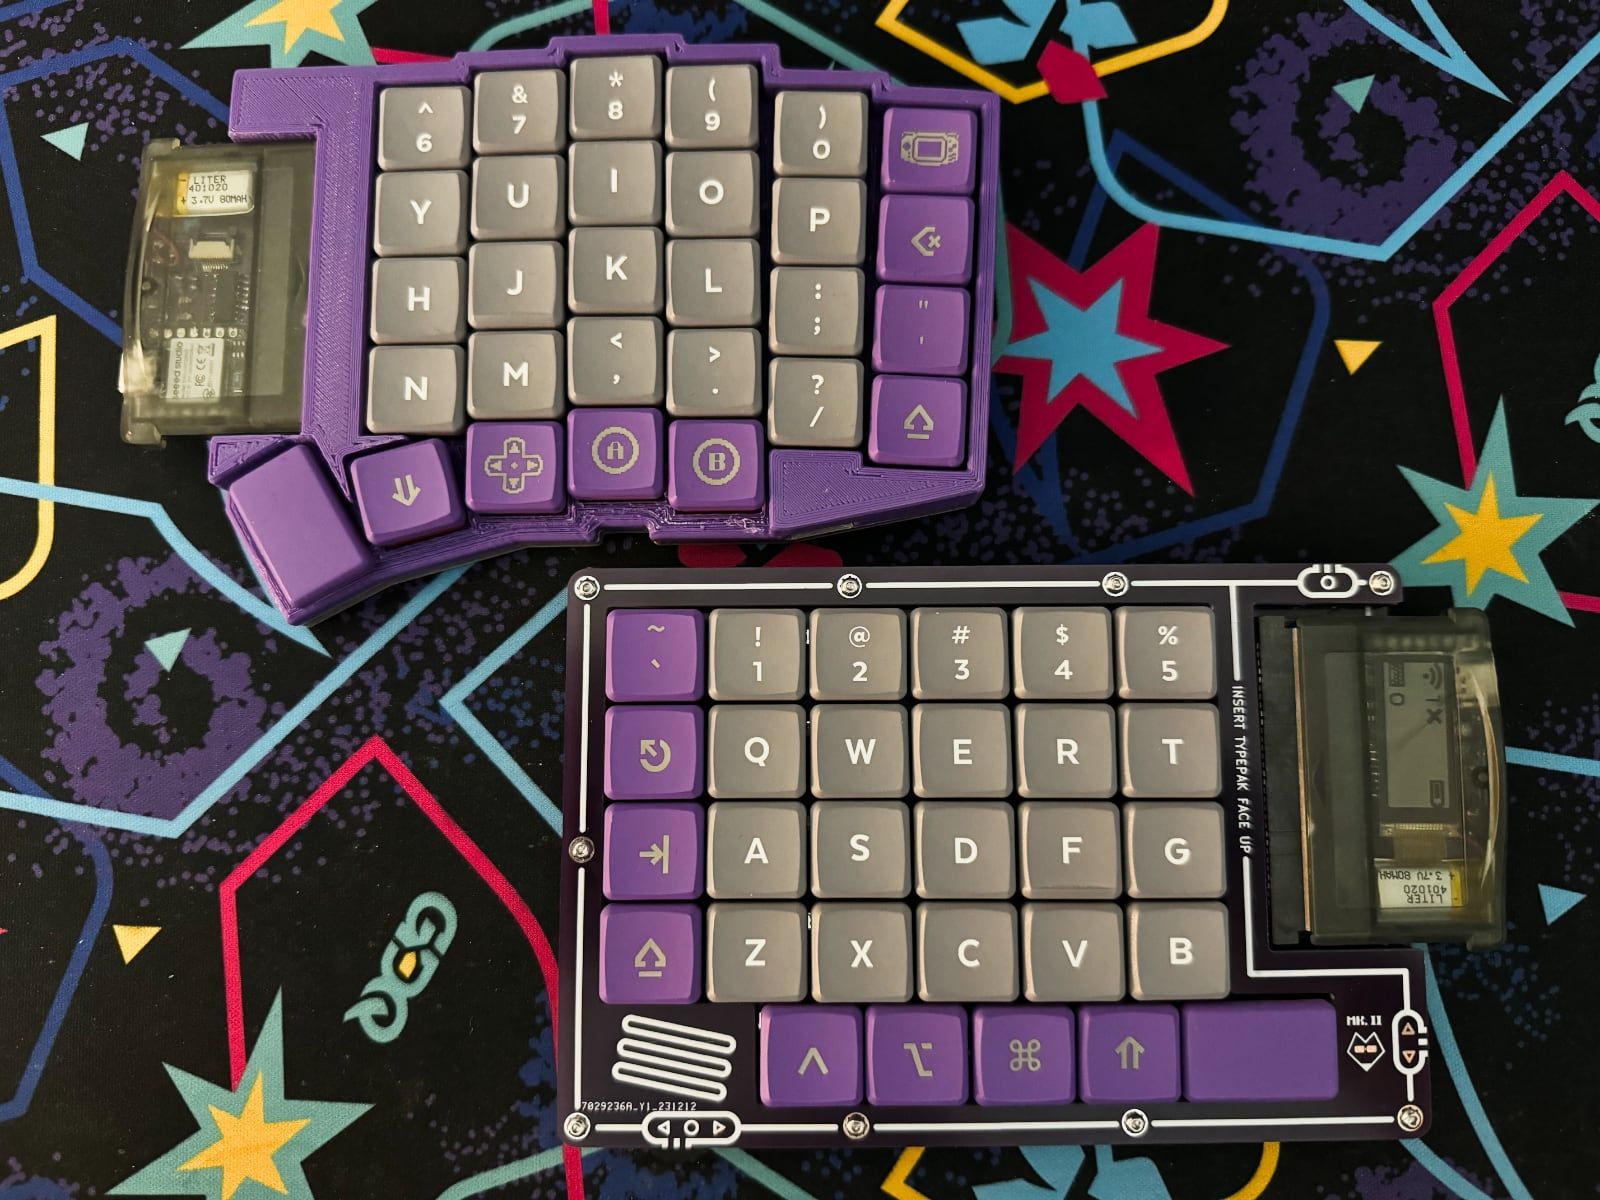
As silly as it sounds, one of my priorities for the TypeBoy MkII was to make the cartridge slot more symmetrical. It was aligned nicely with the keys on the initial TypeBoy PCB, but I hadn’t considered how things would look once I added the case. The Mark II has a nice balanced design, in part to the keyboards new layout.
The original TypeBoy used a modified Sofle layout. I’m still a sucker for 58-key boards, and I was curious to try out a Choc-spaced Sofle configuration. Somehow the tweaked layout never fully clicked for me. I still use my original Sofle on a daily basis, and my hands just never managed to get used to the more compact layout on the TypeBoy. I did experiment with a bit of pinky splay on it, so maybe I’ll chalk it up to that.
In the end I decided to go back to a straitlaced ortholinear layout. I couldn’t resist adding a bit of row stagger to the modifiers, if only to make the spacebars frame the cartridges a bit more pleasantly. My thumbs still occasionally get confused between the layer key and the command key, but overall it’s been a much more pleasant typing experience. I’m certainly up for trying some gentle column stagger in the future, but for now I’m happy being one of those row and column aligned ortholinear weirdos.
Between the new case design and the updated layout, the TypeBoy MkII’s already checked one of my biggest boxes for this refresh. The ergonomically shaped plastic design of the initial keyboard was a little awkward to travel to and from the office with. This new PCB sandwich approach resulted in a keyboard that’s surprisingly solid. There’s very little flex or give to it, and it seems to do a better job handling a ride in my backpack.
The rest of the TypeBoy Mark II’s hardware is pretty straightforward. I’m still a fan of right angle power switches and pushbuttons for these types of mechanical keyboards. Originally I had the reset button and power switch together on the top of the long edge of the keyboard. It wasn’t until about halfway through the routing of this board that I realized there was plenty of room for the power switch next to the cartridge on the short edge of the keyboard. The new placement really helps lean into the Game Boy vibes, and I’m glad I caught it before I sent this design off to the fab.
The final piece of hardware is the low profile rotary encoder. The SIQ-02FVS3 is back! I’m frankly a little obsessed with the idea of using a volume-style encoder wheel on keyboards. It’s always struck me as a little silly to put so much effort into having the lowest profile possible on a mechanical keyboard, only to add a knob that sticks out 5mm on top of everything else. The SIQ-02FVS3 even has a push button action like most knob-style rotary encoders!
Of course, if you read the original TypeBoy writeup, you know I have a love hate relationship with this particular encoder. Now seems as good a time as ever to get into the Mark II’s flaws.
Room for Improvement

I still can’t get the dang SIQ-02FVS3 encoder to work consistently! On the original TypeBoy I eventually gave up and tried using the SLLB510100 slide wheel. I had a few SIQ-02FVS3 wheels leftover after the build however, and some original TypeBoy PCBs with compatible footprints. After a bit of trial and error, I eventually managed to get one of the encoders working with the TypeBoy’s ZMK firmware.
The design of the rotary encoder is nice enough that I gave the SIQ-02FVS3 one more chance in the Mark II. The end result is that it works fine on the left half of the keyboard, but it refuses to send any signals on the right half. I’m pretty sure I have the right side / back half of the PCB routed correctly. The best I can tell, these parts just have a shockingly high failure rate. They’re unfortunately surface mount components, so the encoders are not exactly easy to breadboard and test before you solder them.
The one encoder I got working feels really nice to use. It’s poking out from the PCB a perfect amount, and it’s easy to just casually run your thumb across. Still, given my experience with this part on my last two builds, I may have to eventually give up my dream of using these little wheels for future keyboards. Hopefully I can find a similar part out there.
The last few goofs are thankfully smaller in nature. The TypeBoy Mk II has a very particular 150mm x 100mm shape. While I was considering updating the TypeBoy, the fine folks over at SplitKB.com started experimenting with the idea of offering a generic machine milled aluminum keyboard case with DIY Ergogen projects in mind. Typically premium keyboard cases are molded to fit a specific keyboard, but their upcoming Zenestra concept just provides you with a 150mm x 100mm blank slate to design around. The Zenestra’s rounded rectangle was a fun design constraint to work within, and my intention was to have the Mark II be compatible with it if the case does eventually go up for sale.
Unfortunately, somewhere in my design process I got some wires crossed and accidentally used M2 screw holes instead of M3 screw holes. This is fine for my current PCB sandwich TypeBoy Mark II build, but it does mean that I’ll need to run another revision whenever the Zenestra comes out if I decide to try out their case. Whoops.
My original plan in the meantime was to use some nice purple M3 washes in-between the PCB layers. I would have left the gaps of the keyboard exposed as an aesthetic choice. Unfortunately I honestly ended up scrambling to find some M2 screws of the proper size I could get shipped out quickly to wrap this project up. I ditched the washer idea and created a simple quick 3D printed insert for the two layers. It doesn’t have quite the same industrial look I had originally planned, but it did make the overall build a bit more sturdy. Every time I try to get out of 3D printing, they pull me back in.
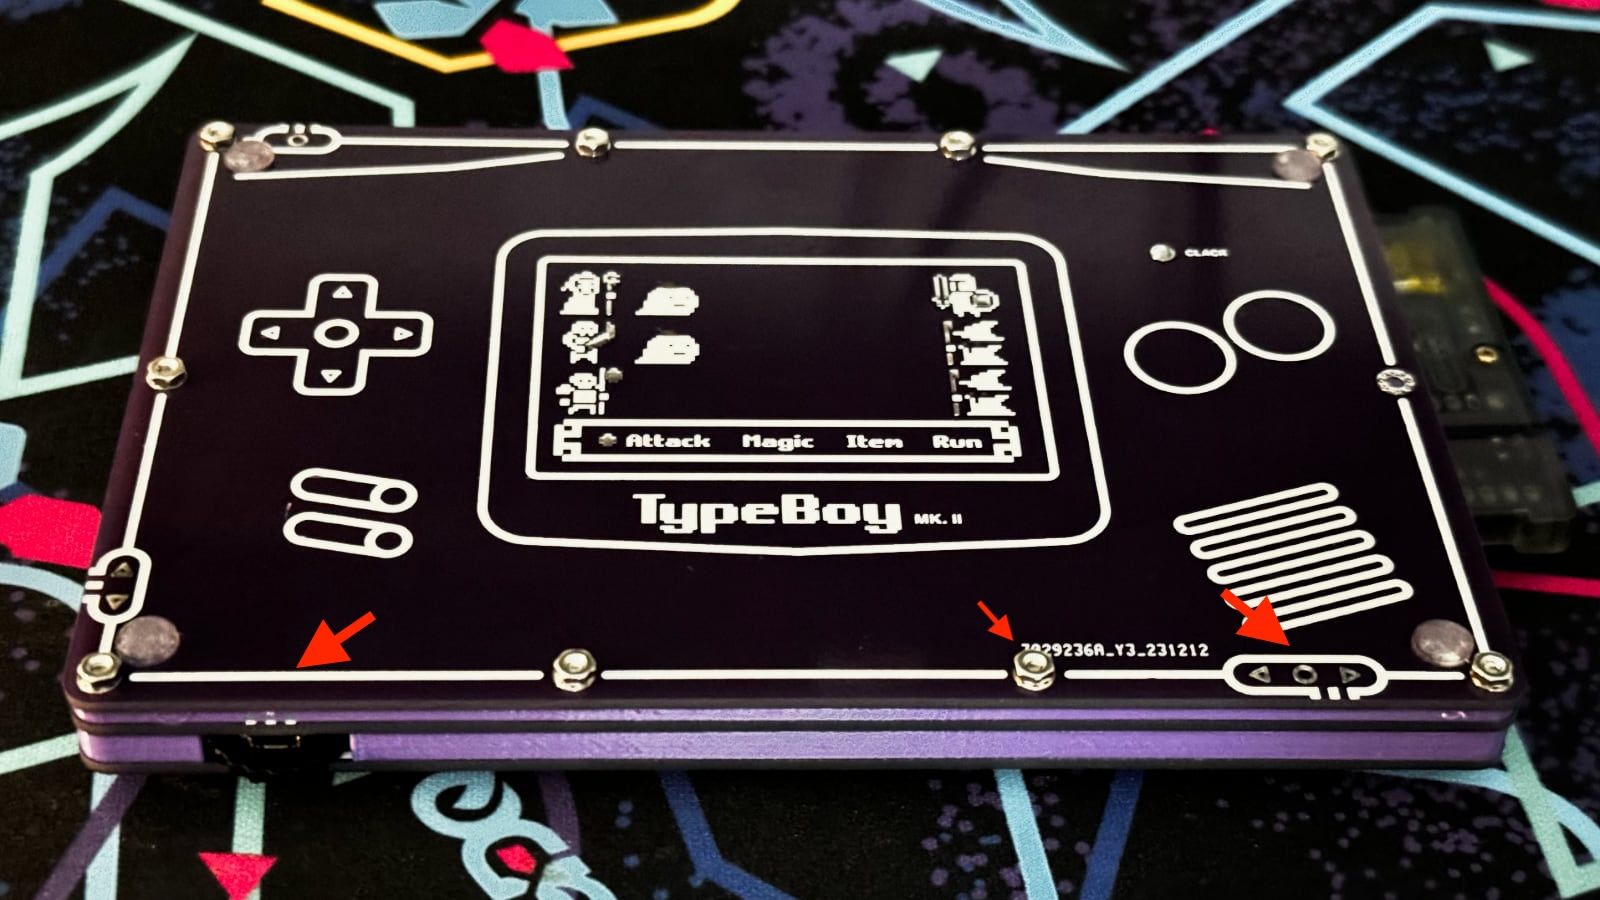
The last flub’s a minor one. I swear I measured-twice and then measured-twice again before cutting fabricating these PCBs. Somehow the silkscreen for the Game Boy Advance inspired bottom piece has the button callouts place on the opposite side of the board. Arg! I also was experimenting for the fist time with specifying a placement of JLCPCB’s order number watermark and hiding the info off somewhere tasteful on the silkscreen. Unfortunately I forgot to check the box to actually enable that option on my order. Ah well.
If you're interested in creating your own TypeBoy Mk II, the M3 screw size and silkscreen issues have been updated in the GitHub repository.
Build of Materials
| Part | Amount | Price |
|---|---|---|
| TypePak Cartridge | 2 | $20 USD |
| TypeBoy PCB Via JLCPCB | 3 Fives Pack | $45 USD |
| Game Boy Cartridge Slot | 2 | $5.00 USD |
| SIQ-02FVS3 Thumb Wheel | 2 | $6 USD |
| Right Angle Pushbutton | 2 | $1.00 USD |
| Right Angle Switch | 2 | $1.50 USD |
| Choc Hotswap Sockets | 58 | $12.00 USD |
| 1N4148 T4 Diodes | 58 | $3.00 USD |
| Choc Switches | 58 | $28.00 USD |
| Choc Keycaps | Alphas + Mods | $60.00 USD |
| 12mm M3 Screws | 18 | $2.00 USD |
| M3 Washers | 54 | $10.00 USD |
| M3 Nuts | 18 | $5.00 USD |
| Bumpons | 1 Pack | $10.00 USD |
The triple-PCB setup was a bit of a splurge for this build. The shipping ramps up after the first PCB, so it's only about $20 USD if you want to skip the PCB sandwich. It seems silly to own two sets of completely insert PCBs, but I really do feel they helped improve this design. I’m not sure if I’ll be able to justify the extra cost in the future, but they were a nice Christmas gift last year.
Overall I’m really happy to see the TypePak design philosophy pay off. Once you have the microcontroller situation squared away, a set of keycaps you like, and some key switches on hand, creating another keyboard variant is a relatively cheap affair. You just need to buy a new set of hotswap sockets, fabricate a few PCBs, and order a new pair of Game Boy cartridge slots.
Conclusion
I’m trying to keep this writeup short and sweet. Despite the 2,500+ words at this point, the Mark II really is an iterative update. I didn’t touch on the firmware much in this writeup, but that’s because I hardly needed to touch my original ZMK configuration. Even the key matrix definition stayed the same between these two updates.
If you're interested in learning more about the TypePak, I've got all the details and some build photos in the original post about it. It shouldn’t go unsaid that the Mark II is another keyboard created with the Ergogen keyboard layout generator. My guide of Ergogen is miraculously still up to date and relevant if you’re curious what goes into building a keyboard like these. If you’re interested in the purple Game Boy inspired keycaps, I did a whole writeup about FK Caps’ custom key printing service last year as well.
That’s all for now. The TypeBoy MkII’s Ergogen config files, KiCAD PCBs, and ZMK config are all up on GitHub. Likewise, the TypePak has its own repository. If you’ve got any questions, comments, or general shout outs, feel free to hit me up on Mastodon.